IT Guides
Guides for IT Personnel
- GAM
- Helpdesk Self-Service Portal Guide
- Xerox: Scan to Email Setup
- Newline firmware update for smartboards
- Bogen
- HTML/CSS
- PowerShell
- Forwarding Emails To Gmail From Exchange
- Bogen Intercom / Paging
GAM
https://sites.google.com/jis.edu.bn/gam-commands/home
Helpdesk Self-Service Portal Guide
Introduction:
This guide will help you, as an Adelanto Elementary School District employee, log into the Technology Services department Helpdesk self-service portal, and successfully place a request for service, or report an issue.
Step 1: Log In
-
To log in, launch your browser program of choice. (Google Chrome, Microsoft Edge, and Mozilla Firefox are all known to work.)
-
Navigate to http://help.aesd.net, or http://helpdesk.aesd.net.
-
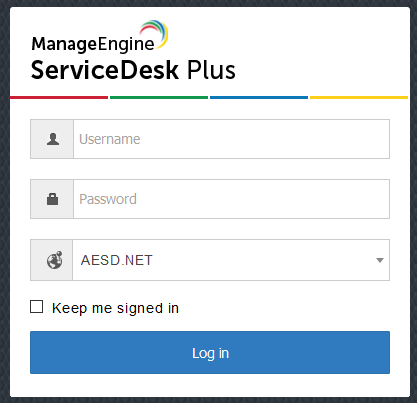
You will see the following menu:
-
Fill out the Username field with your “firstname_lastname” like your email address, but without “@aesd.net” following your name.
-
Use the same Password you would use to log in to your district-issued computer, or district email account.
-
Make sure the last box has “AESD.NET” selected.
-
Press “Log in”

Step 2: The Self Service Portal
Upon successful login, you will be greeted with the Helpdesk Self-Service Portal. You’ll probably notice a number of different boxes on this page, so let’s review those.
-
The My Request Summary box shows the number of requests you currently have open with the Technology Services Department. Clicking on any of the numbers of this section will take you to a more detailed overview of your open requests.
-
The Announcements section contains announcements from the Technology Services department about technology issues affecting the whole District, or an entire school site.
-
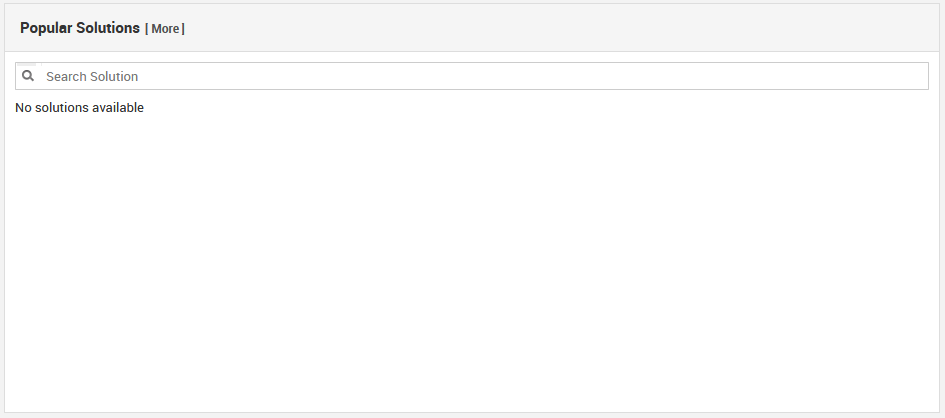
The Popular Solutions area shows “do it yourself” options for the most common technical problems. These are great to try if someone can’t get back to you right away.


Step 3: Placing a Request for Help
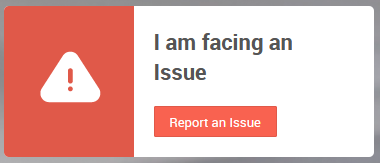
If you are having a technology related issue, you may place a request for assistance by clicking the orange Report an Issue button near the top of the Self-Service Portal.
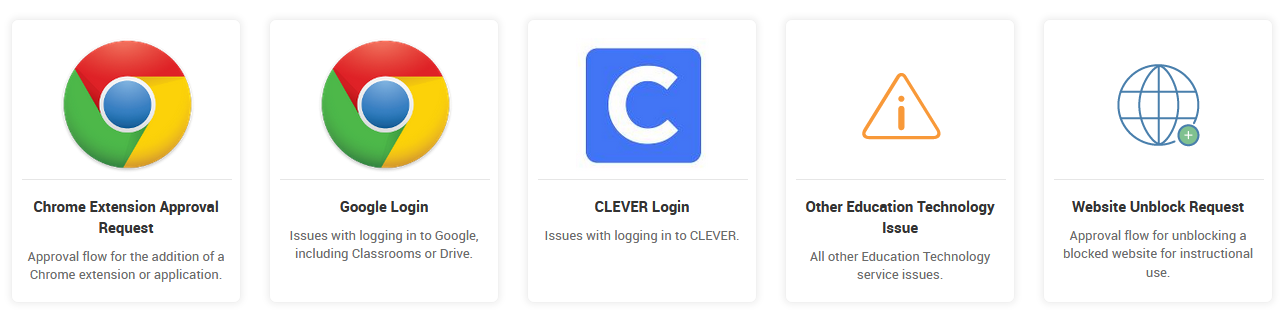
This will take you to the Incident Catalog. The categories here will help your issue get directed to the appropriate person within the Technology Services Department. Click on a category that best encompasses your issue. (Please note that you can also use the search bar at the top to attempt searching for the type of issue you are having.)
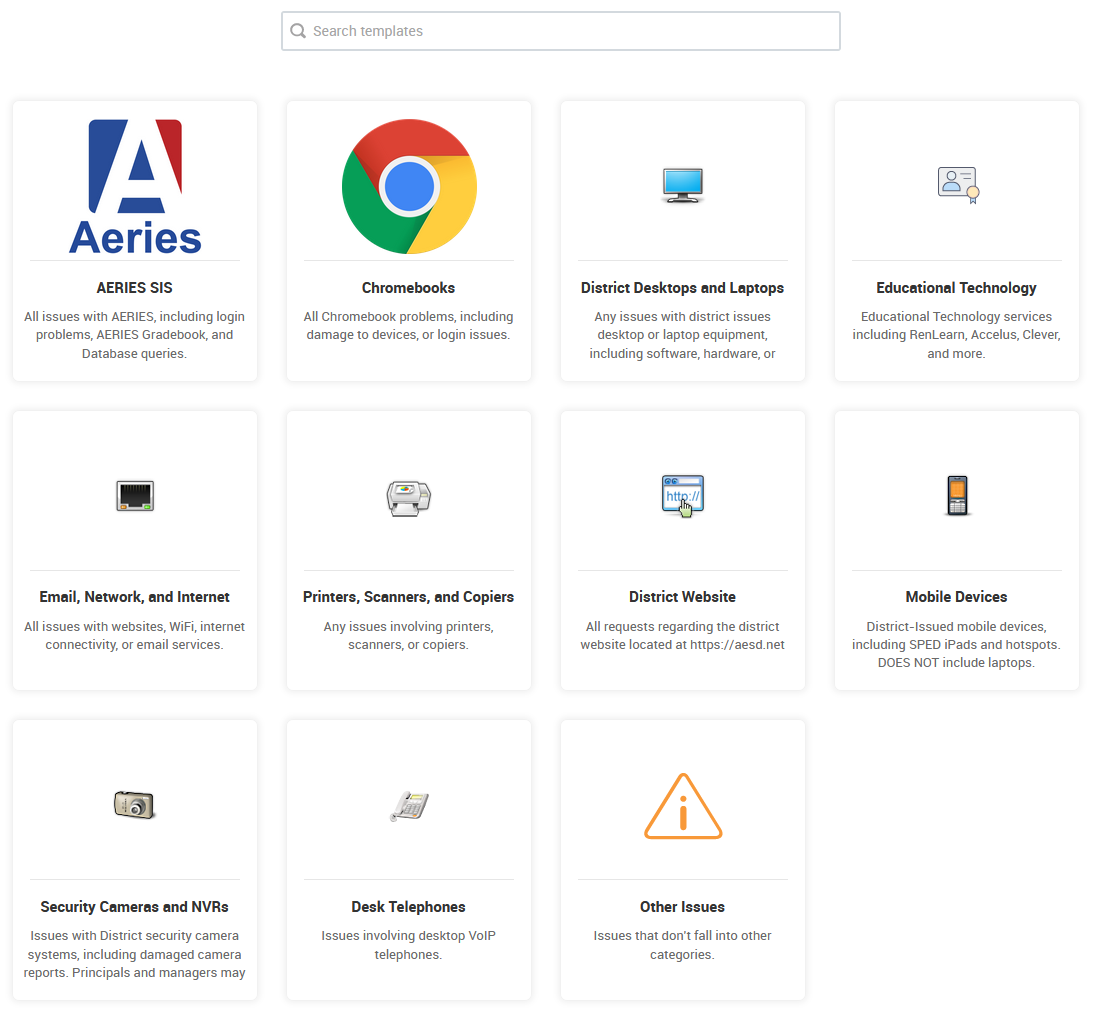
After choosing a category, please select the option that best describes your issue.
You will then be asked to fill out a template in order to submit your request. Please enter a detailed description of your issue, make sure all other fields are accurate, and then press submit. Note that not all fields will be filled in, so check over everything to make sure all details are as accurate as possible. This will help us in resolving your issue as quickly as possible.
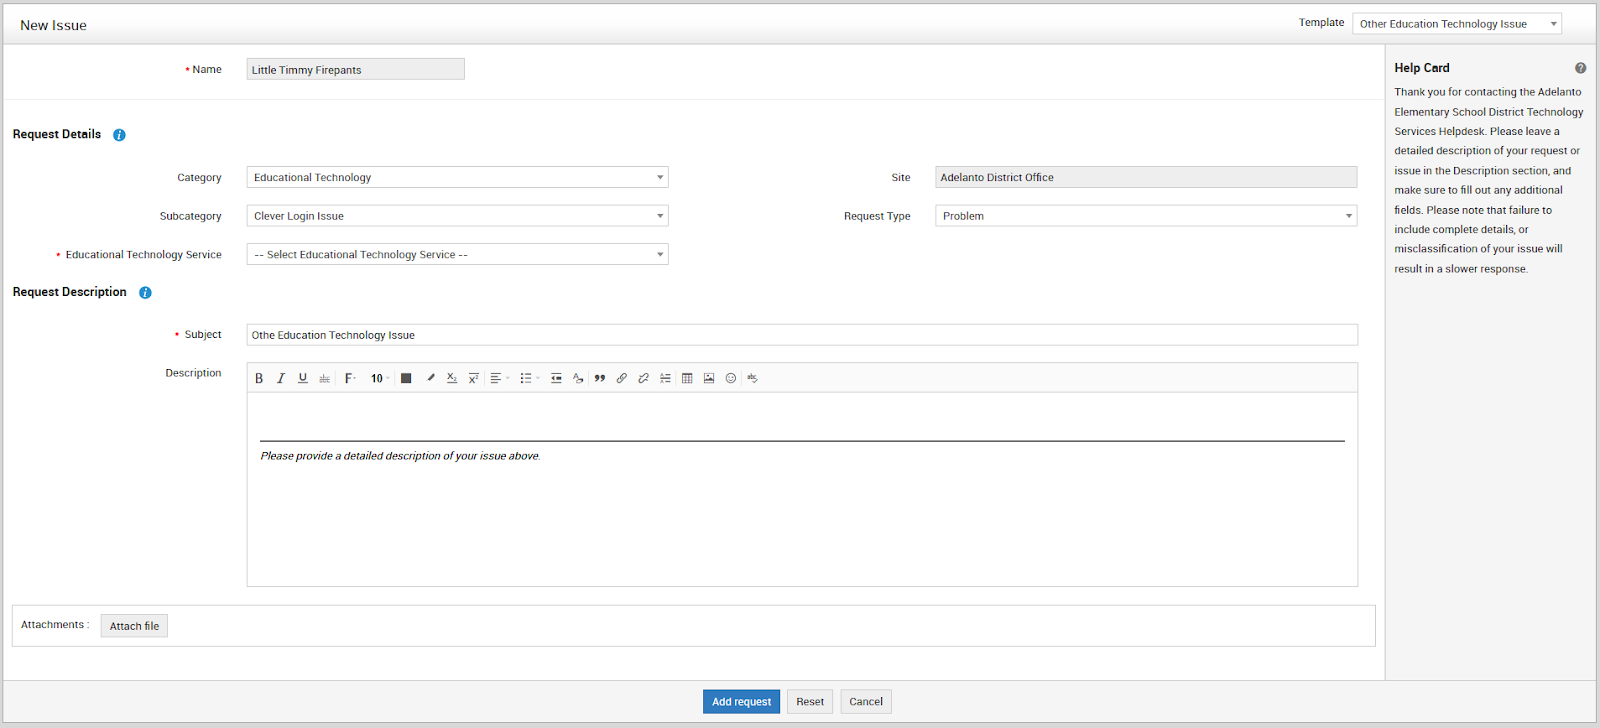
You may then hit Add Request and your issue will be submitted to our Helpdesk technicians, who will get back to you as quickly as possible.
Step 4: Other Ways to Get Help
There are two other ways to get help. From anywhere within the Self-Service Portal, you may use the Live Chat tab to talk with a Helpdesk technician. Simply click the button to bring up a chat menu.
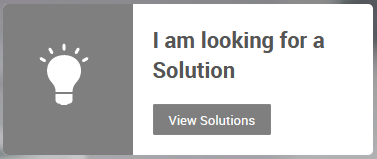
From the main page of the Self Service portal, you can browse the entire Solutions database, which will have options you can try yourself to resolve common issues. You can view the solutions database by clicking the grey View Solutions button.
Xerox: Scan to Email Setup
Follow the page below within the Xerox printer portal to setup the SMTP values for scanning to Email:
Hint: Type "SMTP" to get to the page quickly.

relay-us-east-2.prod.hydra.sophos.com
Port 25
Device Email Address: copier@aesd.net
PW: Sd
Newline firmware update for smartboards
Thank you for contacting Newline Support.
Here are instructions on how to update your boards:
Q series:
| Model | S/N Start | v1.1.56 firmware |
| TT-5521Q | AEIA4 | https://drive.google.com/file/d/1xNkN_eC7fY93V-6jO8sz7mI84J156pa5/view?usp=share_link |
| TT-6521Q | BDW45, BDW72, BEI72 | https://drive.google.com/file/d/1xUffRMwjjA_NzSTksE3Kl2OcGDzm4yoc/view?usp=share_link |
| TT-6521Q | BEF45 | https://drive.google.com/file/d/1xmhZw3j_Xa8sQA_5YNYRzGfyJY7hAHDD/view?usp=share_link |
| TT-6521Q | BDWAC | https://drive.google.com/file/d/1xgQR-5sJ1w2bB4ljv0hgdmSMf_N5KdqY/view?usp=share_link |
| TT-7521Q | DDWT0, DDWC1, DEIC1, DEIT0 | https://drive.google.com/file/d/1xoYlVHzrWkVIIhnB5h_2nl7806Hw1UXy/view?usp=share_link |
| TT-7521Q | DDWAA | https://drive.google.com/file/d/1xn_kUGQQ4cIc6lsfndDRgwLUK81G46yJ/view?usp=share_link |
| TT-8621Q | HDWA0, HDWD1, HEID1, HEIA0 | https://drive.google.com/file/d/1xtC0LT6UnJ2Act7O1189zcpG222D0jhf/view?usp=share_link |
| TT-9821Q | IEIAC | https://drive.google.com/file/d/1xIiK6ceqjUvYQpqdJwVohfgfoGXJf8UV/view?usp=share_link |
-
Prepare a USB thumb drive that is formatted to FAT32 and has a total capacity between 4 - 16GB.
-
Download the appropriate file from the link above based on the first five characters of the serial number.
-
Extract the zipped file and add the 3 files to the root of the flash drive.
-
Power down the panel so the power light is red.
-
Plug the thumb drive into the "Android USB3.0" port on the bottom/underside of the unit as seen here.
-
Hold the power button down. A Newline logo will appear followed by a green Android image. Let go of the power button when the green Android image appears.
-
Once the system update is finished, the panel will reboot to the set up page.
-
On the set up page, you will see a message on the bottom stating that the panel will perform one last update.
-
After a panel reboot, eject the thumbdrive when you're on the set up page of the panel to complete the process
RS+ series:
-
Prepare a thumbdrive that is formatted to FAT32 and has a total capacity between 4 - 16GB.
-
Download the file from the link above.
-
Extract the zipped file and add the individual 5 files to the root of the thumbdrive.
-
Power down the panel so the power light is red.
-
Plug the thumb drive into the USB 2.0 port in the front of the panel.
-
Hold the power button down for approximately 5-10 seconds. A blue loading screen will appear.
-
After the blue loading screen reaches 100%, the panel will restart.
-
Choose a language and touch the screen to enter the home page.
-
The panel will display an "import version config" message. Click Confirm. If you do not see an "import version config" message or see a split screen, please replug the thumbdrive.
-
After the upgrade process has finished, the panel will restart.
-
Eject the thumbdrive when you're on the homepage of the panel to complete the process.
Important: When performing the steps above, the newline display will need to be re-added to the MDM by reseting the authorization token as shown in the video and screenshot below:
https://www.youtube.com/watch?v=r3657nfcl34

Bogen
Bogen Quantum Commander Intercom
In order to access school site Bell systems to program the bell schedule, secretaries will need access to the Bogen Bell system via Internet Explorer. The steps below are required in order to access the site and make necessary changes:
- Download and Install Java 8u211 32 bit, (this is the only version that will work) from \\10.0.50.2\installs\Java\jre-8u211-windows-i586.exe
- Close your browser first and open the Java control panel.

- Under Security enter the full IP address in the Exception Site List — example https://xxx.xxx.xxx.xxx:8080 If you need to URL for your site you can find it here.

- Under General select Settings and then uncheck the box titled — Keep Temporary Internet Files Click Delete Files then make sure that Trace and Log Files box is checked then click OK

- Go to Advanced Setting on the Control Panel and select the settings below


HTML/CSS
Introduction to markup language and stylesheet language.
Preface
Will write more on this. For now, know that HTML/CSS provides information on how to examine and edit source code for HTML and CSS on BookStack and other websites.
Introduction to HTML
Tags and Elements
HyperText Markup Language (HTML) labels and structures web content. The HyperText portion refers to links that connect web pages to other resources, while Markup Language mainly refers to the way content on a web page is identified. This form of identification is known as a tag and are distinguished by < and > with at least an element name in-between those characters. Personally, I think calling it the element name creates confusion, so from here on I'll refer to it as the tag's name. For most situations, a tag by itself isn't very useful. To put content on a webpage, there usually needs to be an opening tag and closing tag with a string of characters in between. The following is an example:
<h1> Joshua Trees </h1>
<h1> ... </h1>
This shows the opening tag <h1> and closing tag </h1> acting as a container for the content Joshua Trees. The opening tag, closing tag, and content is collectively known as an element. Notice how the closing tag has a / before the tag's name; all closing tags require this character. Note, the tag's name is case insensitive, however, it is universally agreed upon that developers keep it lowercase. This particular line of code is known as a heading element, which when compiled increase the size of the characters to make a heading, like so:
Joshua Trees
While a majority of elements follow this structure, there are a few exempted from this rule. Take for example, the image element
<img src = "Images/Joshua Trees.jpg" />
<img src = "location_of_image_in_directory" />
The code above displays the tag's name img followed by an attribute src and a value Images/Joshua Trees.jpg with a closing /. An attribute is a predefined variable that assigns a value to it in the form of strings, numbers, IDs, and classes (more on those in later chapters). Notice that there is no second tab or content, these are categorized as empty elements and are only used with specific types of elements. Keep in mind that attributes can only found in empty elements and in the opening tags of regular elements. As you may have guessed, attributes affect the behavior of an element. For example, the code above was created in a local html file, and it displays an image of Joshua trees which the source src of that image is located in a directory.

Warning, you may omit the double quotation marks, but it is considered good practice to use them. You may write these elements on a HTML document, but they won't populate your webpage unless you use the basic outline of an HTML document.
The Basic Outline of an HTML Element
The following block of code shows the basic structure of an HTML document, along with the previous examples we used to show how it looks like. Notice how the elements are formatted in a nested like structure. We'll examine each line in the source code to understand each element.
<!DOCTYPE html>
<html>
   <head>
   </head>
   <body>
      <h1>Joshua Trees</h1>
      <img src = "Images/Joshua Trees.jpg" />
   </body>
</html>
Joshua Trees
Doctype Empty Element
<!DOCTYPE html>
<!DOCTYPE version_of_html>
This line of code states which version of HTML you are using, in this case we are using HTML5 which is written as html in the doctype empty element. A quick google search will help you how to declare older versions of HTML.
HTML Element
<html>
   ...
</html>
The HTML element lets the browser know that the code nested within the HTML element should be interpreted as HTML.
Head Element
<head>
   ...
</head>
The head element provides information about the website, like who's the creator what's the label and so forth.
Body Element
<body>
   ...
</body>
Lastly, the body element capsulates the code that will be display on the web browser.
HTML: Special Elements and Layout Elements
PowerShell
Introduction
Automatic Variables
The first thing to do when using PowerShell on an unknown machine is to find out which version it's running. Any version that is less than 5.1 should be upgraded. It may sound like a good idea to upgrade to the most recent version (7.3), but as of writing, most computers come preinstalled with version 5.1. Trying to run a script made in version 7.3 on a computer that has 5.1 installed could potentially cause errors, which is why this content is made with 5.1 in mind. To find out which version is currently running type and enter $PSVersionTable .


The following command provides a hashtable with the version number on the first row. This particular command is known as a automatic variable and are characterized with $ in front of the variable's name. Automatic variables are predefined variables and automatically store information about the device for PowerShell use. To learn about all the types of automatic variables you can visit the Microsoft website.
Forwarding Emails To Gmail From Exchange
How To Forward Emails To Gmail From Exchange
This guide may also be found here.
-
How To Forward Emails To Gmail From Exchange
- Go mymail.aesd.net/ecp and log in.
- On successful login you should be in recipients (found on the left) >> mailboxes (found at the top) with a list of accounts.
- Choose an account to work on.
- Make sure no one else is working on the same account by checking the Migrated Users Google Sheet. We are working on users in alphabetical order.
- If you don’t see the name listed add it to the spreadsheet and continue to the next step. Otherwise, go back to STEP 2 and choose another name.
- Make a new mail contact.
- Go to contacts (found at the top)
- Search for the name you’re working on. If they have a mail contact, skip to STEP 4 (Enable forwarding). Otherwise, continue to the next step.
- Click on the + icon then select Mail Contact. A new mail contact window should pop up.
- Fill out the form.
- Alias format should be: FirstName_LastName
Example: john_doe - External email address format should be: FirstName_LastName@myasd.net
Example: john_doe@myasd.net
Do NOT add an @aesd.net address.
- Alias format should be: FirstName_LastName
- Click Save once you’re done.
- Enable forwarding.
- Go to the mailboxes (found at the top) then double click the name of the account you’re working on. Another pop-up window should appear.
- Go to mailbox features, look for Mail Flow, then click View details directly under it. You should be in the delivery options menu
- Tick on🗹 Enable forwarding and Deliver message to both forwarding address and mailbox
- Click on the Browse… button. A new pop-up should appear.
- Find the name of the person you are working on. Make sure the Recipient Type is MailContact. Double click it once found. Do NOT double click the UserMailbox type.
- Click OK at the bottom.
- Document your work.
- Go back to the Migrated Users Google Sheet and tick on🗹 Contact Created and Mail Forwarded from Exchange.
- Go to the Users to Import Google Sheet and add the user’s @aesd.net email address to the list. Do NOT add the @myasd.net address to the list.
- Go mymail.aesd.net/ecp and log in.
Bogen Intercom / Paging
PAGE #00
Emergency paging (lock downs, fires, fire drills etc...) Some schools have county programs and mayor may not be assigned to hear the Standard ALL CALL. Therefore it is important to use this code in case of an emergency because it will announce across all speakers.
PAGE #06
Inside only paging … (example: You may be into a lock down for some period of time. Initially you would have done an emergency page. You may then wish to only page the inside of your campus. Use this code to do that.)
PAGE #07
Your Standard ALL CALL-All Speakers except in some cases the office and county programs.
PAGE #08
Outside only paging (example: You may wish to only make an announcement to the playground, or you are looking for a child/staff member curing school hours and do not wish to announce this to every classroom)